Free Open Source Rich-text editors List
Rich-text editors are web components that allow users to edit and enter text within a web browser.
Its allows you to format the text .Following are the list of open source html editors .
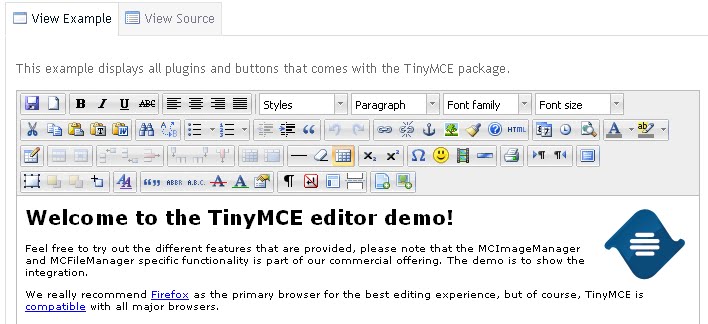
Tinymce
Its a Javascript WYSIWYG Editor and Open Source under LGPL by Moxiecode Systems AB.It is a easy to integrate , custimizable and lightweight .
Following is the example of the tinymce editor :-
Example :-
Download
Demo
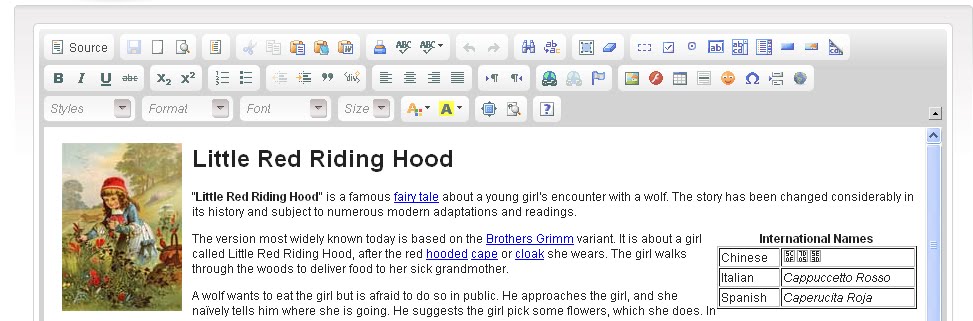
FCK Editor
FCKeditor has been around for more than six years. Since 2003 it has built a strong user community becoming the most used editor in the market, accumulating more than 3,5 million downloads.
In 2009, it renamed to the editor CKEditor, bringing to light the next generation of our software: CKEditor 3.0.
Because CKEditor is licensed under flexible Open Source and commercial licenses, you'll be able to integrate and use it inside any kind of application.
This is the ideal editor for developers, created to provide easy and powerful solutions to their users.
Editor with all features
- Interface color
- Multi-language interface
- Custom toolbar
- Skins
Example :-
Download
Demo
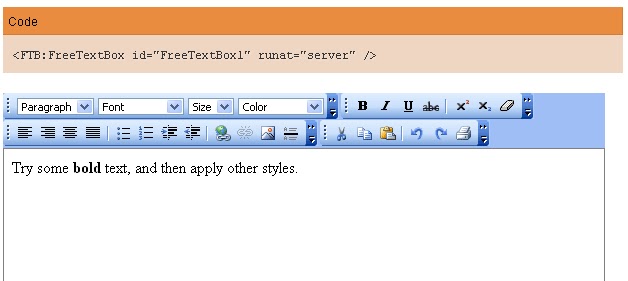
FreeTextBox HTML Editor
The free version of FreeTextBox enables users to do basic HTML editing in a WYSIWYG environment with a look and feel similar to desktop products.
It is the popular free ASP.NET WYSIWYG rich HTML editor
Browser Support
IE 6,7,8,9
Firefox 1+
Google Chrome 1+
Apple Safari 3,4,5
Opera 7,8,9,10
Example :-
Demo
Download
Rich-text editors are web components that allow users to edit and enter text within a web browser.
Its allows you to format the text .Following are the list of open source html editors .
Tinymce
Its a Javascript WYSIWYG Editor and Open Source under LGPL by Moxiecode Systems AB.It is a easy to integrate , custimizable and lightweight .
Following is the example of the tinymce editor :-
Example :-
Download
Demo
FCK Editor
FCKeditor has been around for more than six years. Since 2003 it has built a strong user community becoming the most used editor in the market, accumulating more than 3,5 million downloads.
In 2009, it renamed to the editor CKEditor, bringing to light the next generation of our software: CKEditor 3.0.
Because CKEditor is licensed under flexible Open Source and commercial licenses, you'll be able to integrate and use it inside any kind of application.
This is the ideal editor for developers, created to provide easy and powerful solutions to their users.
Editor with all features
- Interface color
- Multi-language interface
- Custom toolbar
- Skins
Example :-
Download
Demo
FreeTextBox HTML Editor
The free version of FreeTextBox enables users to do basic HTML editing in a WYSIWYG environment with a look and feel similar to desktop products.
It is the popular free ASP.NET WYSIWYG rich HTML editor
Browser Support
IE 6,7,8,9
Firefox 1+
Google Chrome 1+
Apple Safari 3,4,5
Opera 7,8,9,10
Example :-
Demo
Download